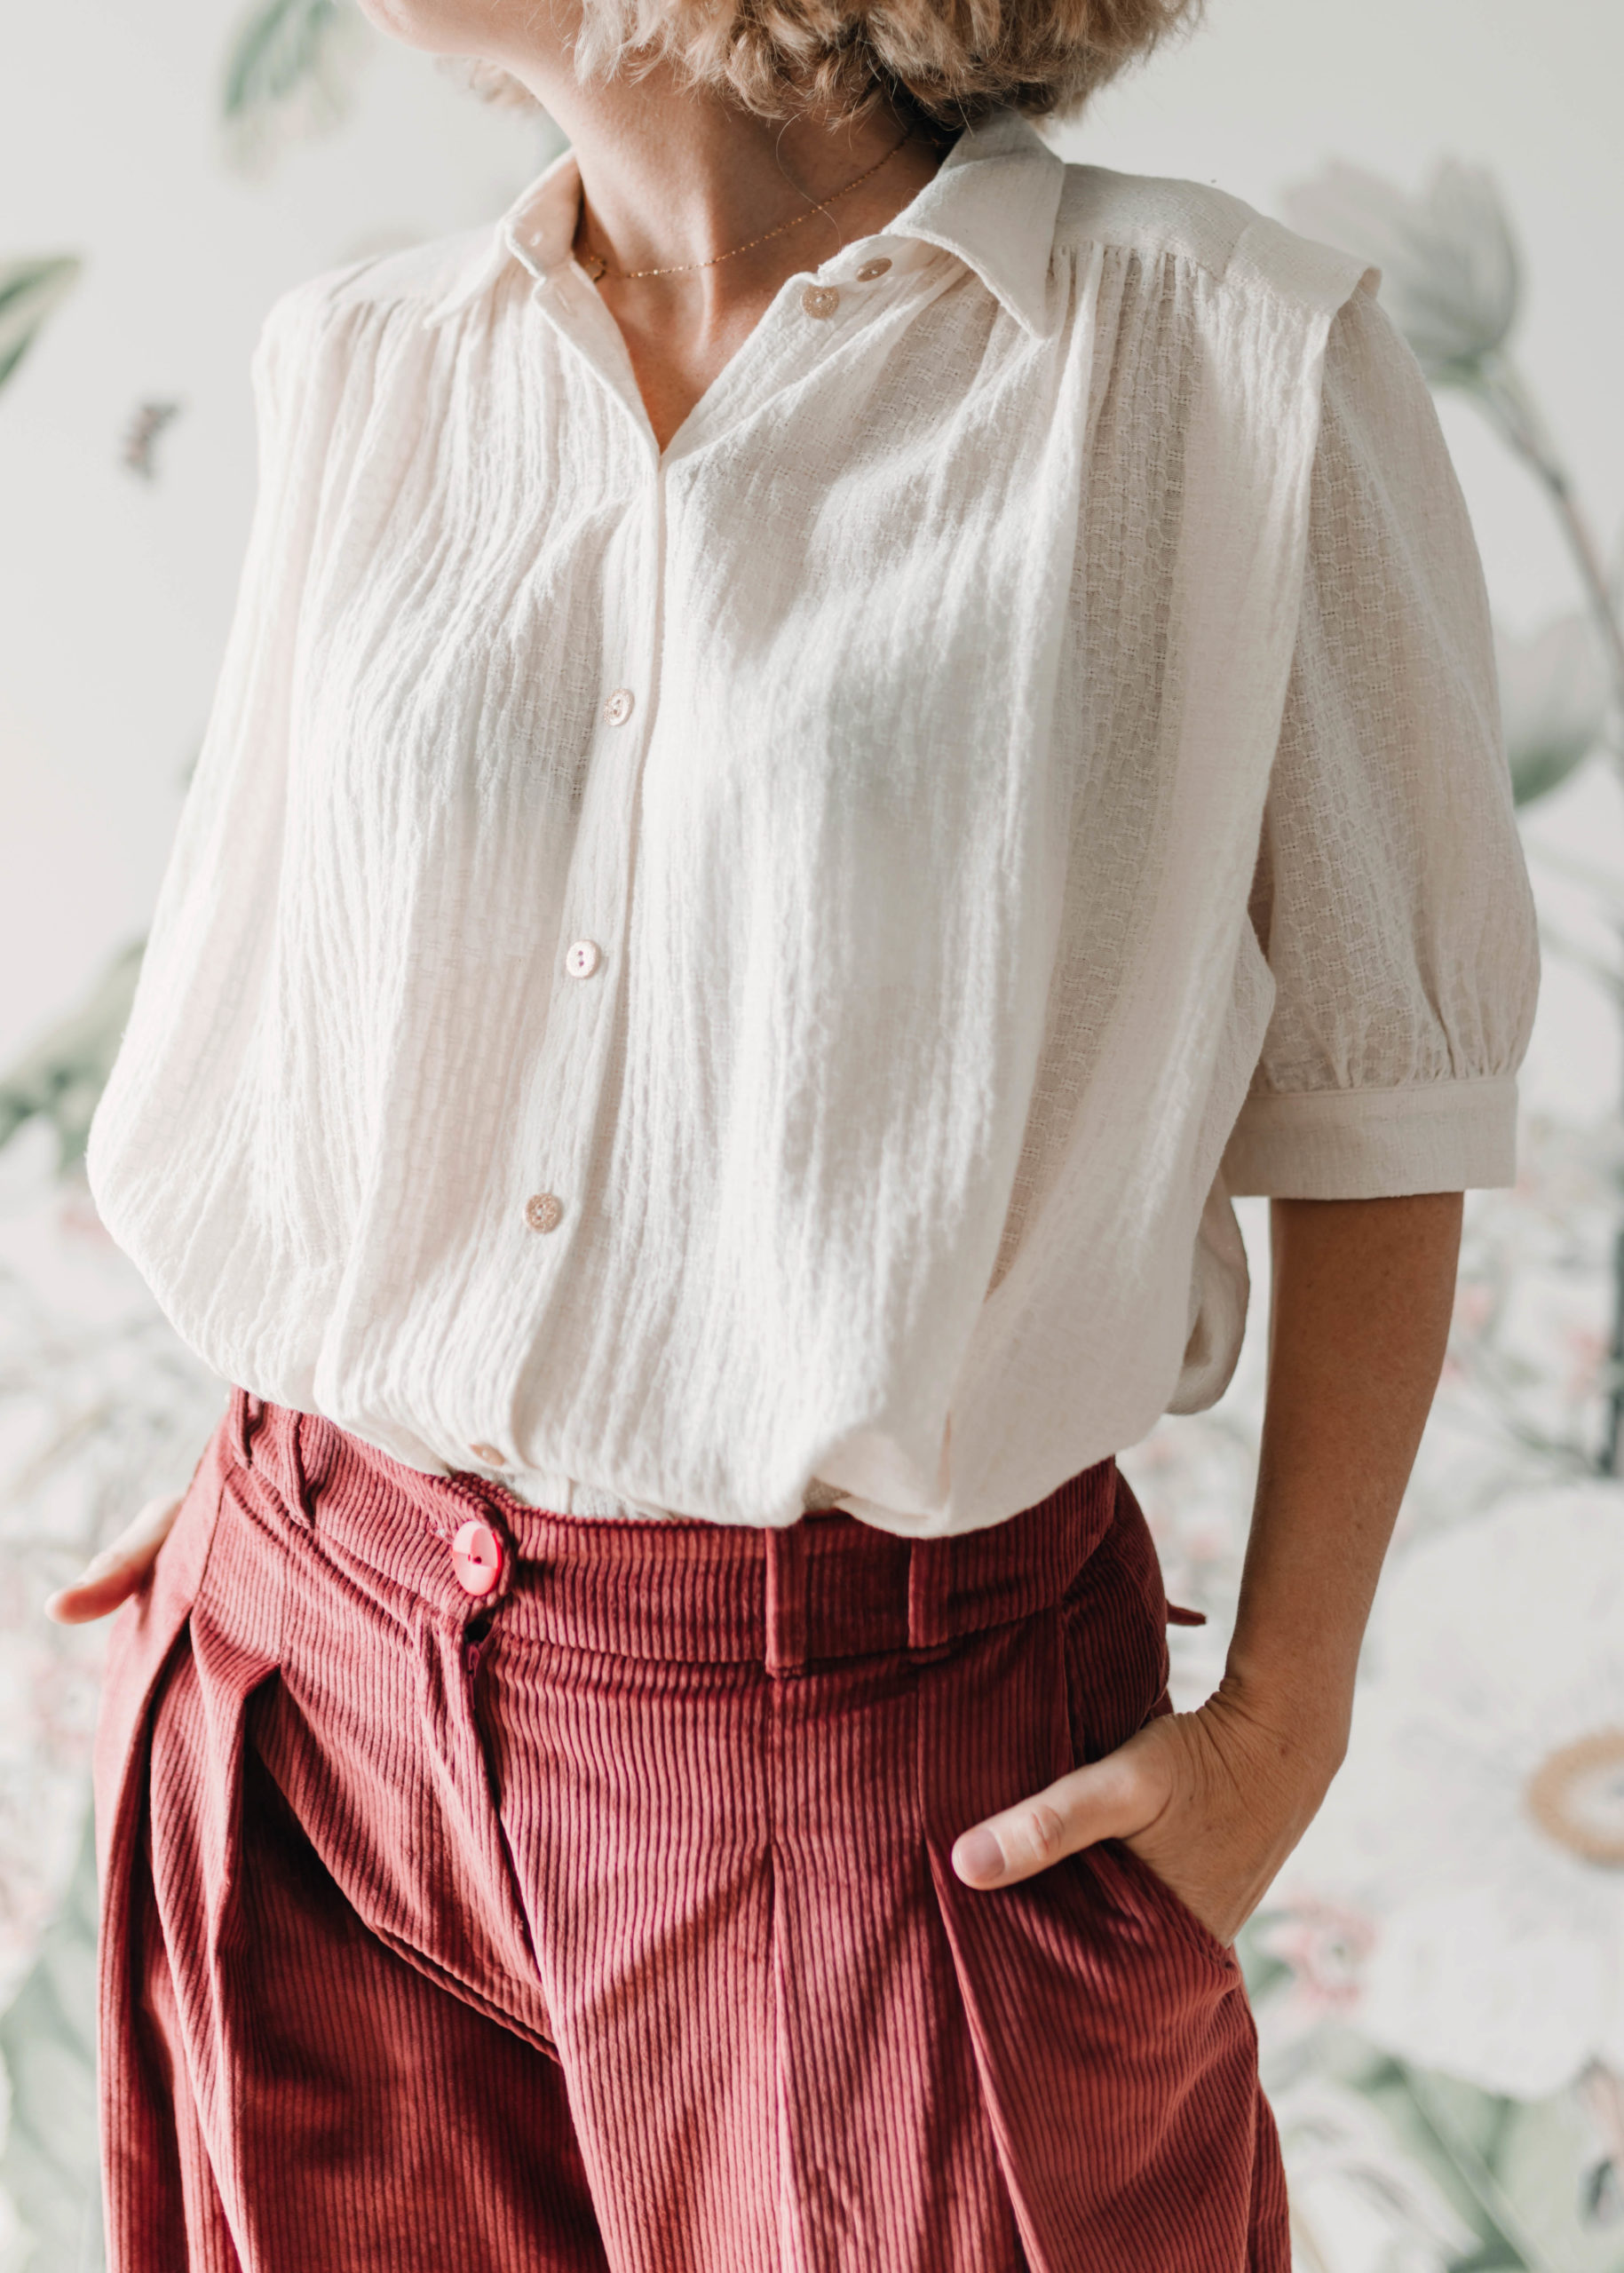
For all of you owning the YZE pattern already, here’s a pattern hack for a crop top.
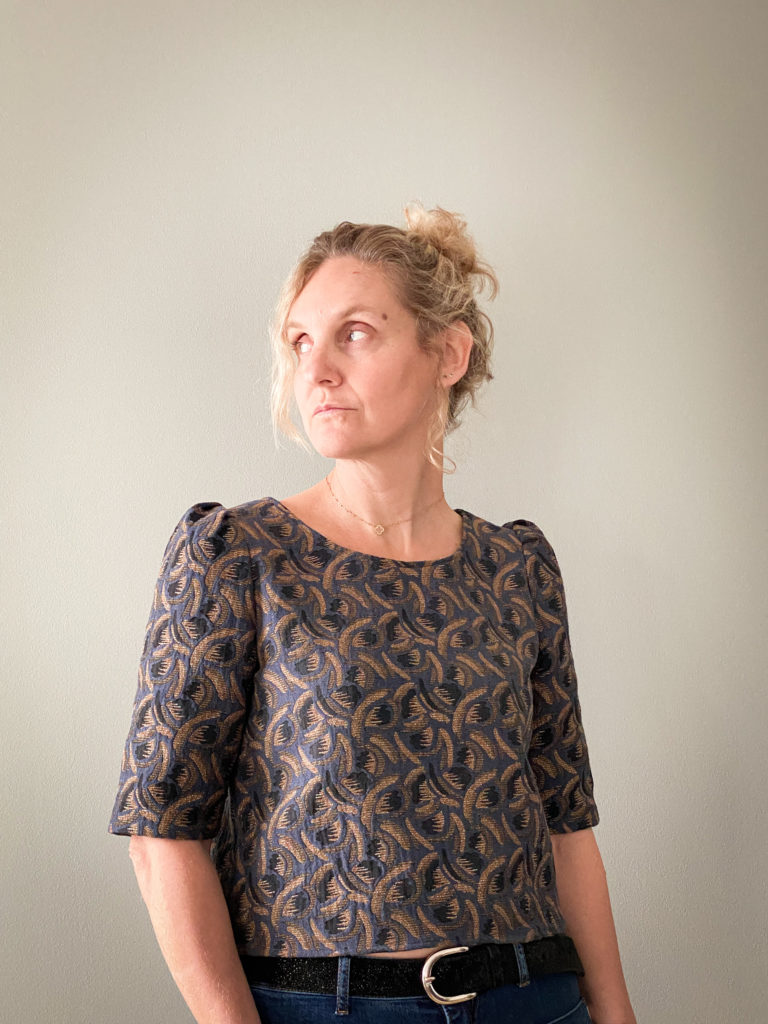
For my version, I chose to make half-length sleeves to show you how to modify the sleeves. But in this season you might want to keep the long sleeves: no problem, just sew the long sleeves as they are patterned in the pattern!
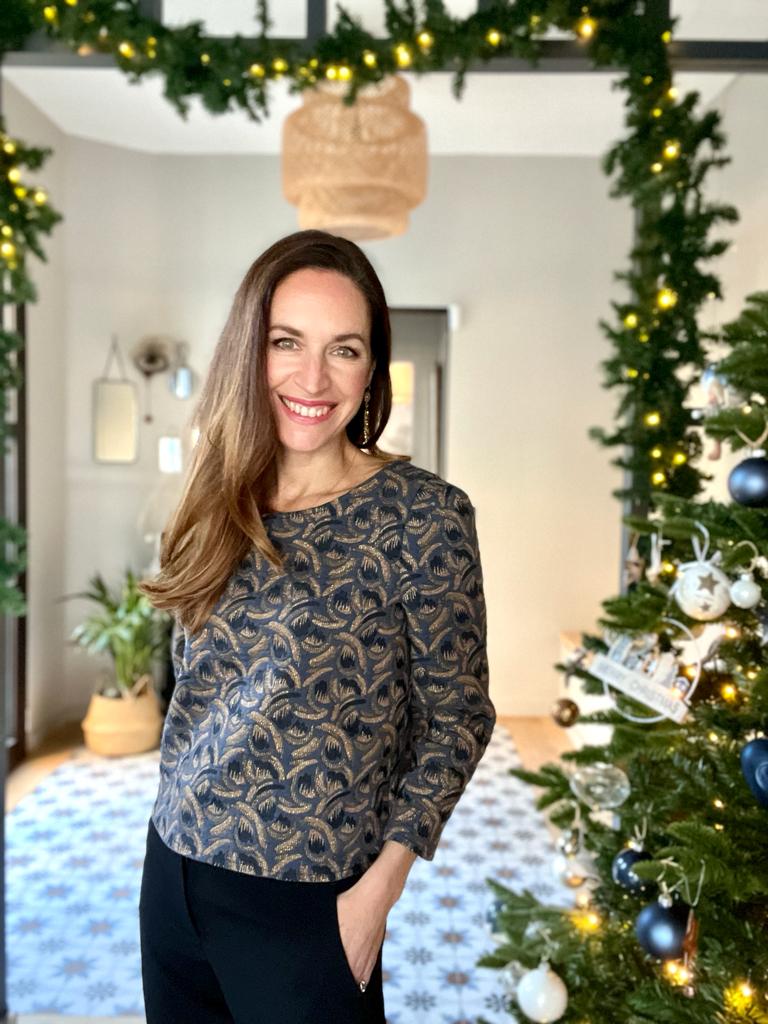
By the way, at the very end of this post, you’ll see a version of CropTop with long sleeves and a sexy back neckline, made by my partner Benedicte (Instagram account @louanje)
To make the CropTop, it’s an easy modification made on 3 main pattern pieces i.e. The Bodice front #1 and the Back bodice #2. And I added a paragraph about the modification of the Sleeves #3.
To make modifying the pattern pieces easier and to be accurate, you shouldn’t modify the pattern pieces you have already cut in fabric. On the contrary, my advice would be to:
- Trace the pattern pieces on paper,
- Make the modifications indicated below ON the paper pieces,
- Then cut the new pattern pieces in your fabric.
Modification of Front bodice #1 and Back bodice #2 pieces
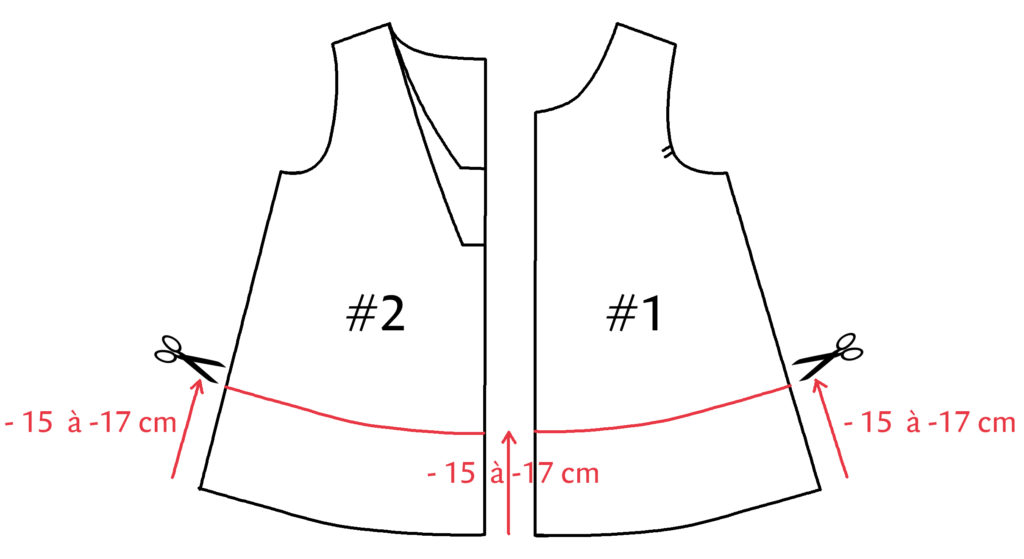
To mark the new hemline of the Crop top’s bodices, trace a line parallel to the “Blouse-cut here” line and 15 to 17 cm higher (i.e. 15 to 17 cm higher than the bottom edge of the Blouse). I prefer giving you a measurement range because it will depend on your height and where you prefer your crop top to hit. It will allow you to adjust the end length of your Crop Top after trying it on, taking into account the 1.5 cm hem.
Cut the pieces along the red hemline, eliminating the extra fabric at the bottom of each piece.
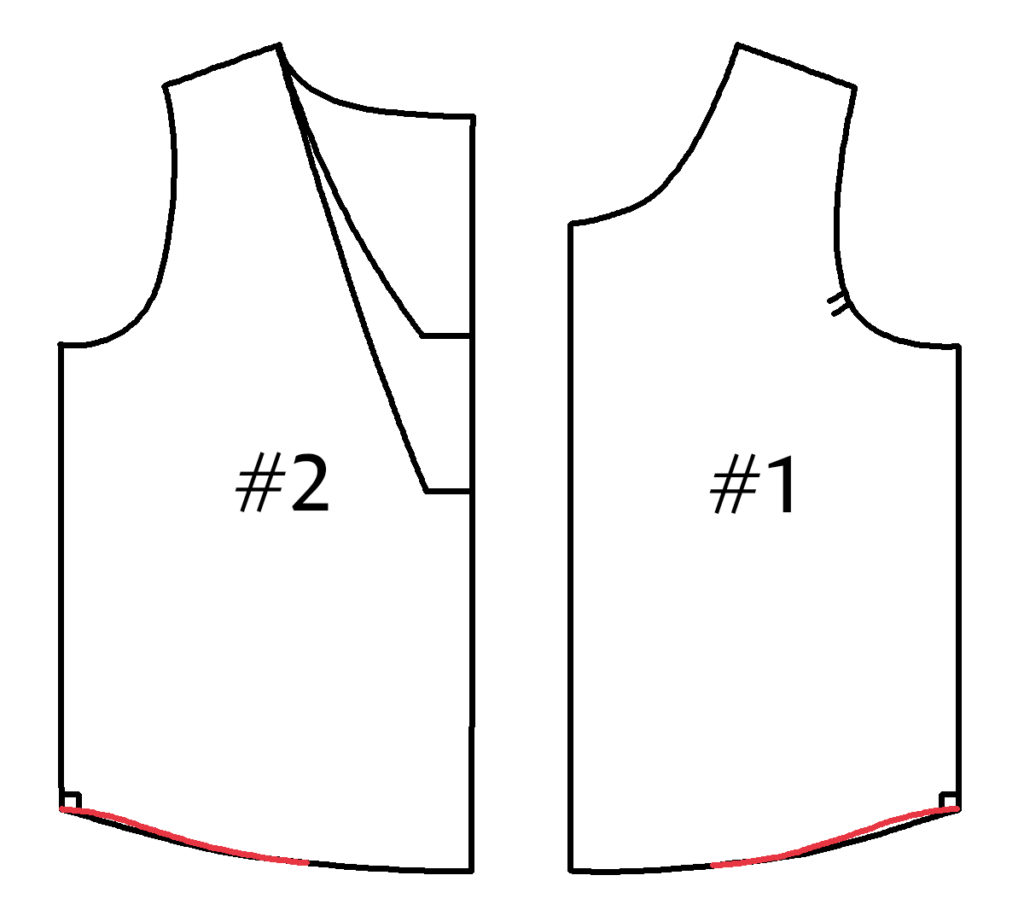
Now, trace a line parallel to the grainline (i.e. parallel to the center front for piece #1 and parallel to the center back for piece #2). That line should intersect the angle made by the side seam and the armscye line. This new line (in red) should intersect the new hemline.
Cut each piece #1 and #2 along that red line.

Then, trace a new hemline so that the new side line and the new hemline make a right-angled corner. This will enable a perfect match between the side lines of Front bodice #1 and Back bodice #2.
Modification of Sleeve #3
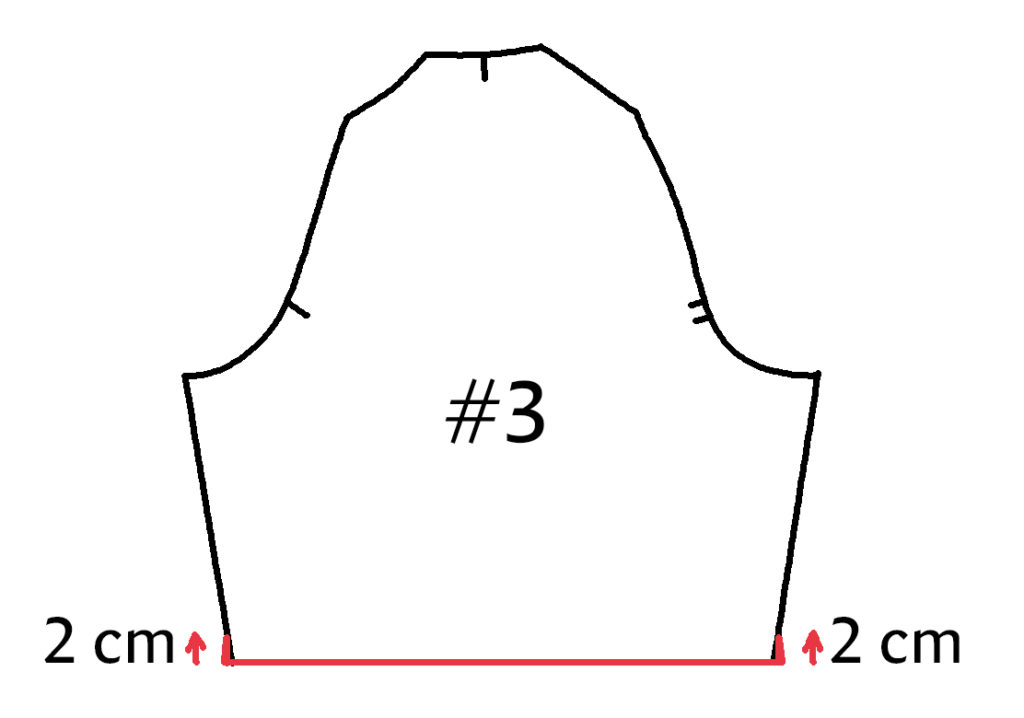
I chose to sew half sleeves to my Crop Top. I used the long sleeve pattern piece #3 and I traced a new hemline 19 cm below the armscye line (it already includes the 2 cm hem).

NB: You can choose to customize the length of the sleeves of your CropTop, to make preferably 3/4 sleeves, short sleeves etc… To do so, you can modify the part Sleeve #3 by choosing to replace the value « 19 cm » that I propose, by any value of your choice.
Then I traced new ends at the side lines of the sleeves so that they won’t generate any tension when the hem is folded (1 cm + 1 cm). I simply copied what had already been drawn on either side of the original long sleeve piece.
Cut each piece #3 along the red line.
Sewing the CropTop
Once your paper pieces have been modified, you can cut your fabric, using the new #1, #2 and/or #3 pattern pieces, as well as the facings and armhole binding pieces. Then you will sew your Yzé Crop Top, following the instructions of the original Yze pattern.
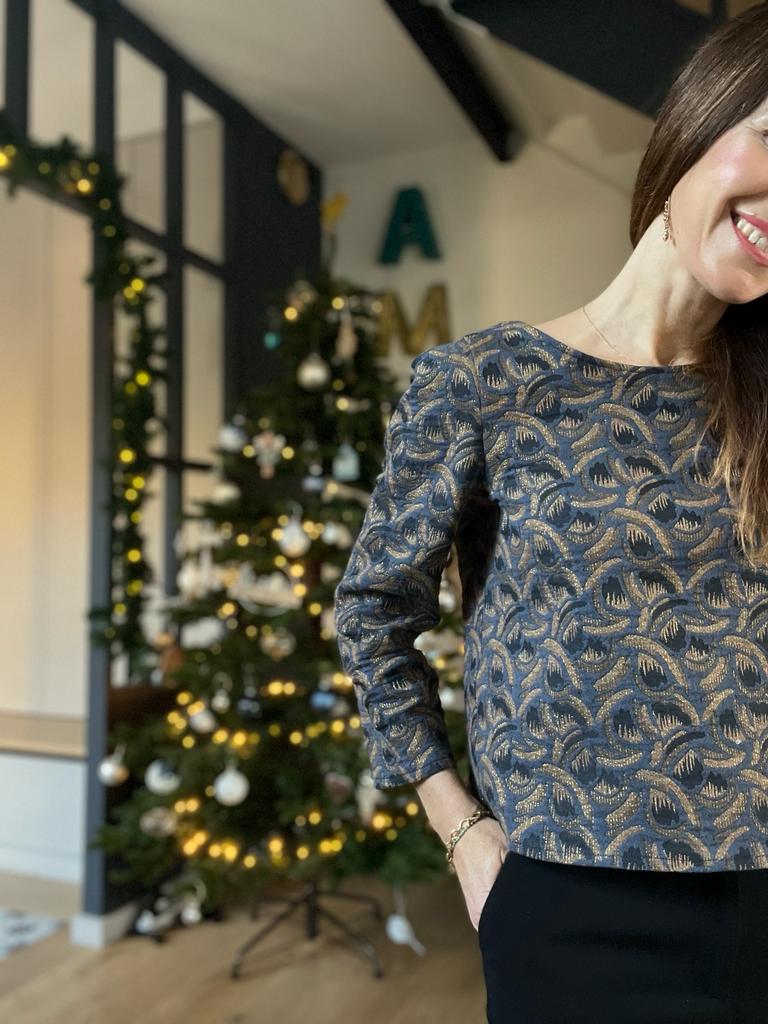
Here, my partner and I choose the « Peacock Honey » jacquard from Atelier Brunette.
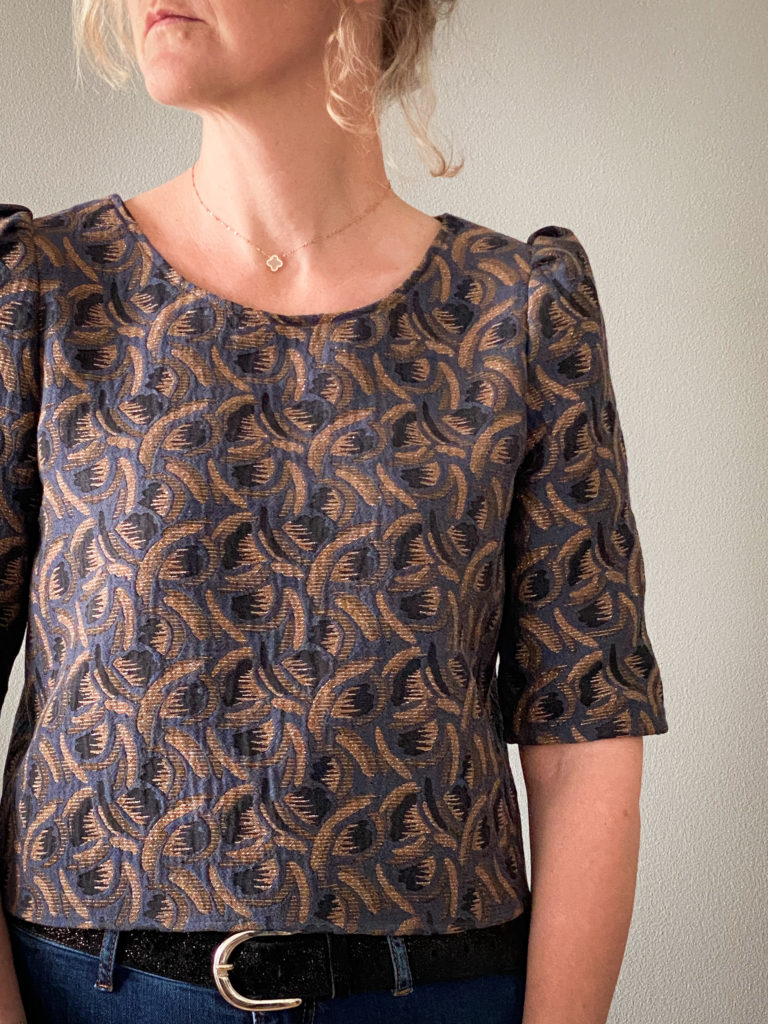
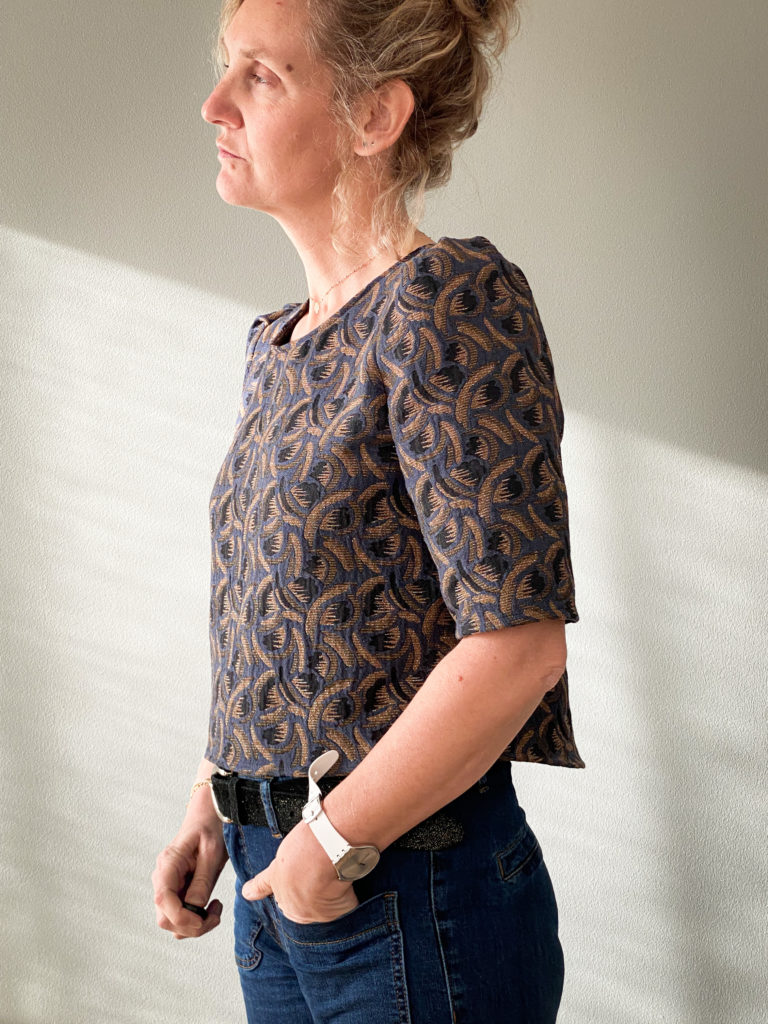

The CropTop (with long sleeves and sexy back neckline), sewn by my collaborator Bénédicte (Instagram account @louanje)

Enjoy!!!
Happy sewing and Happy holidays to you all!


