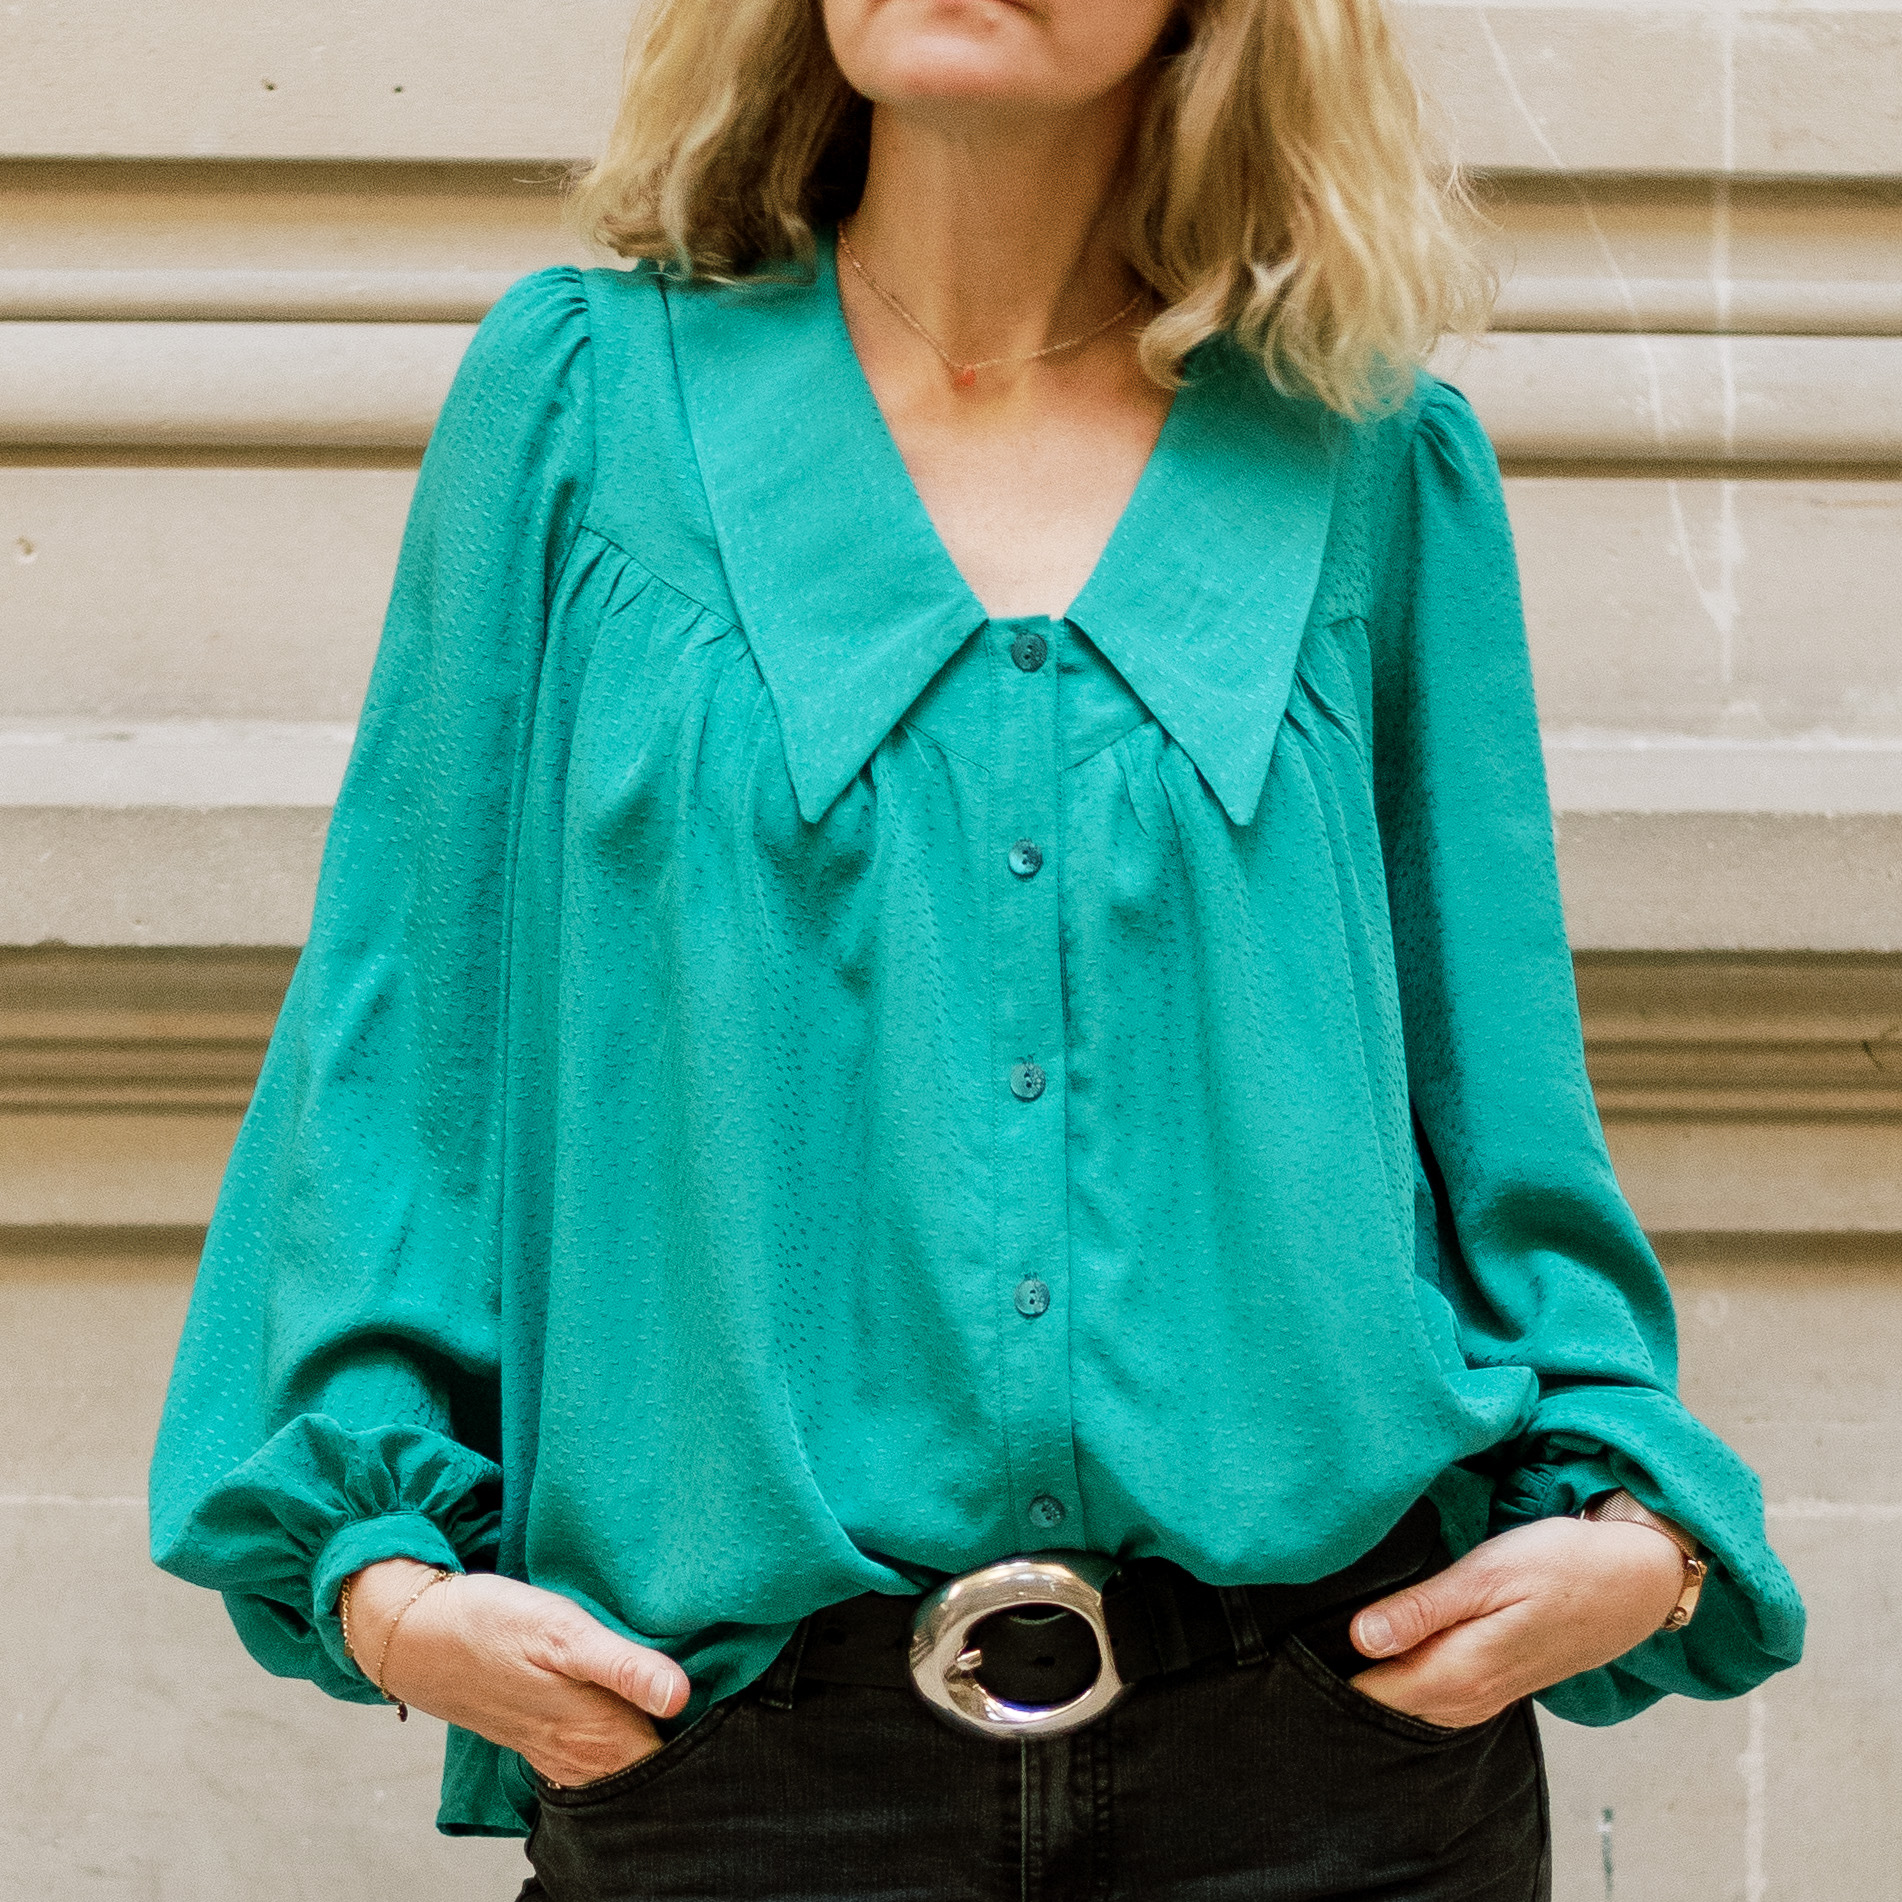
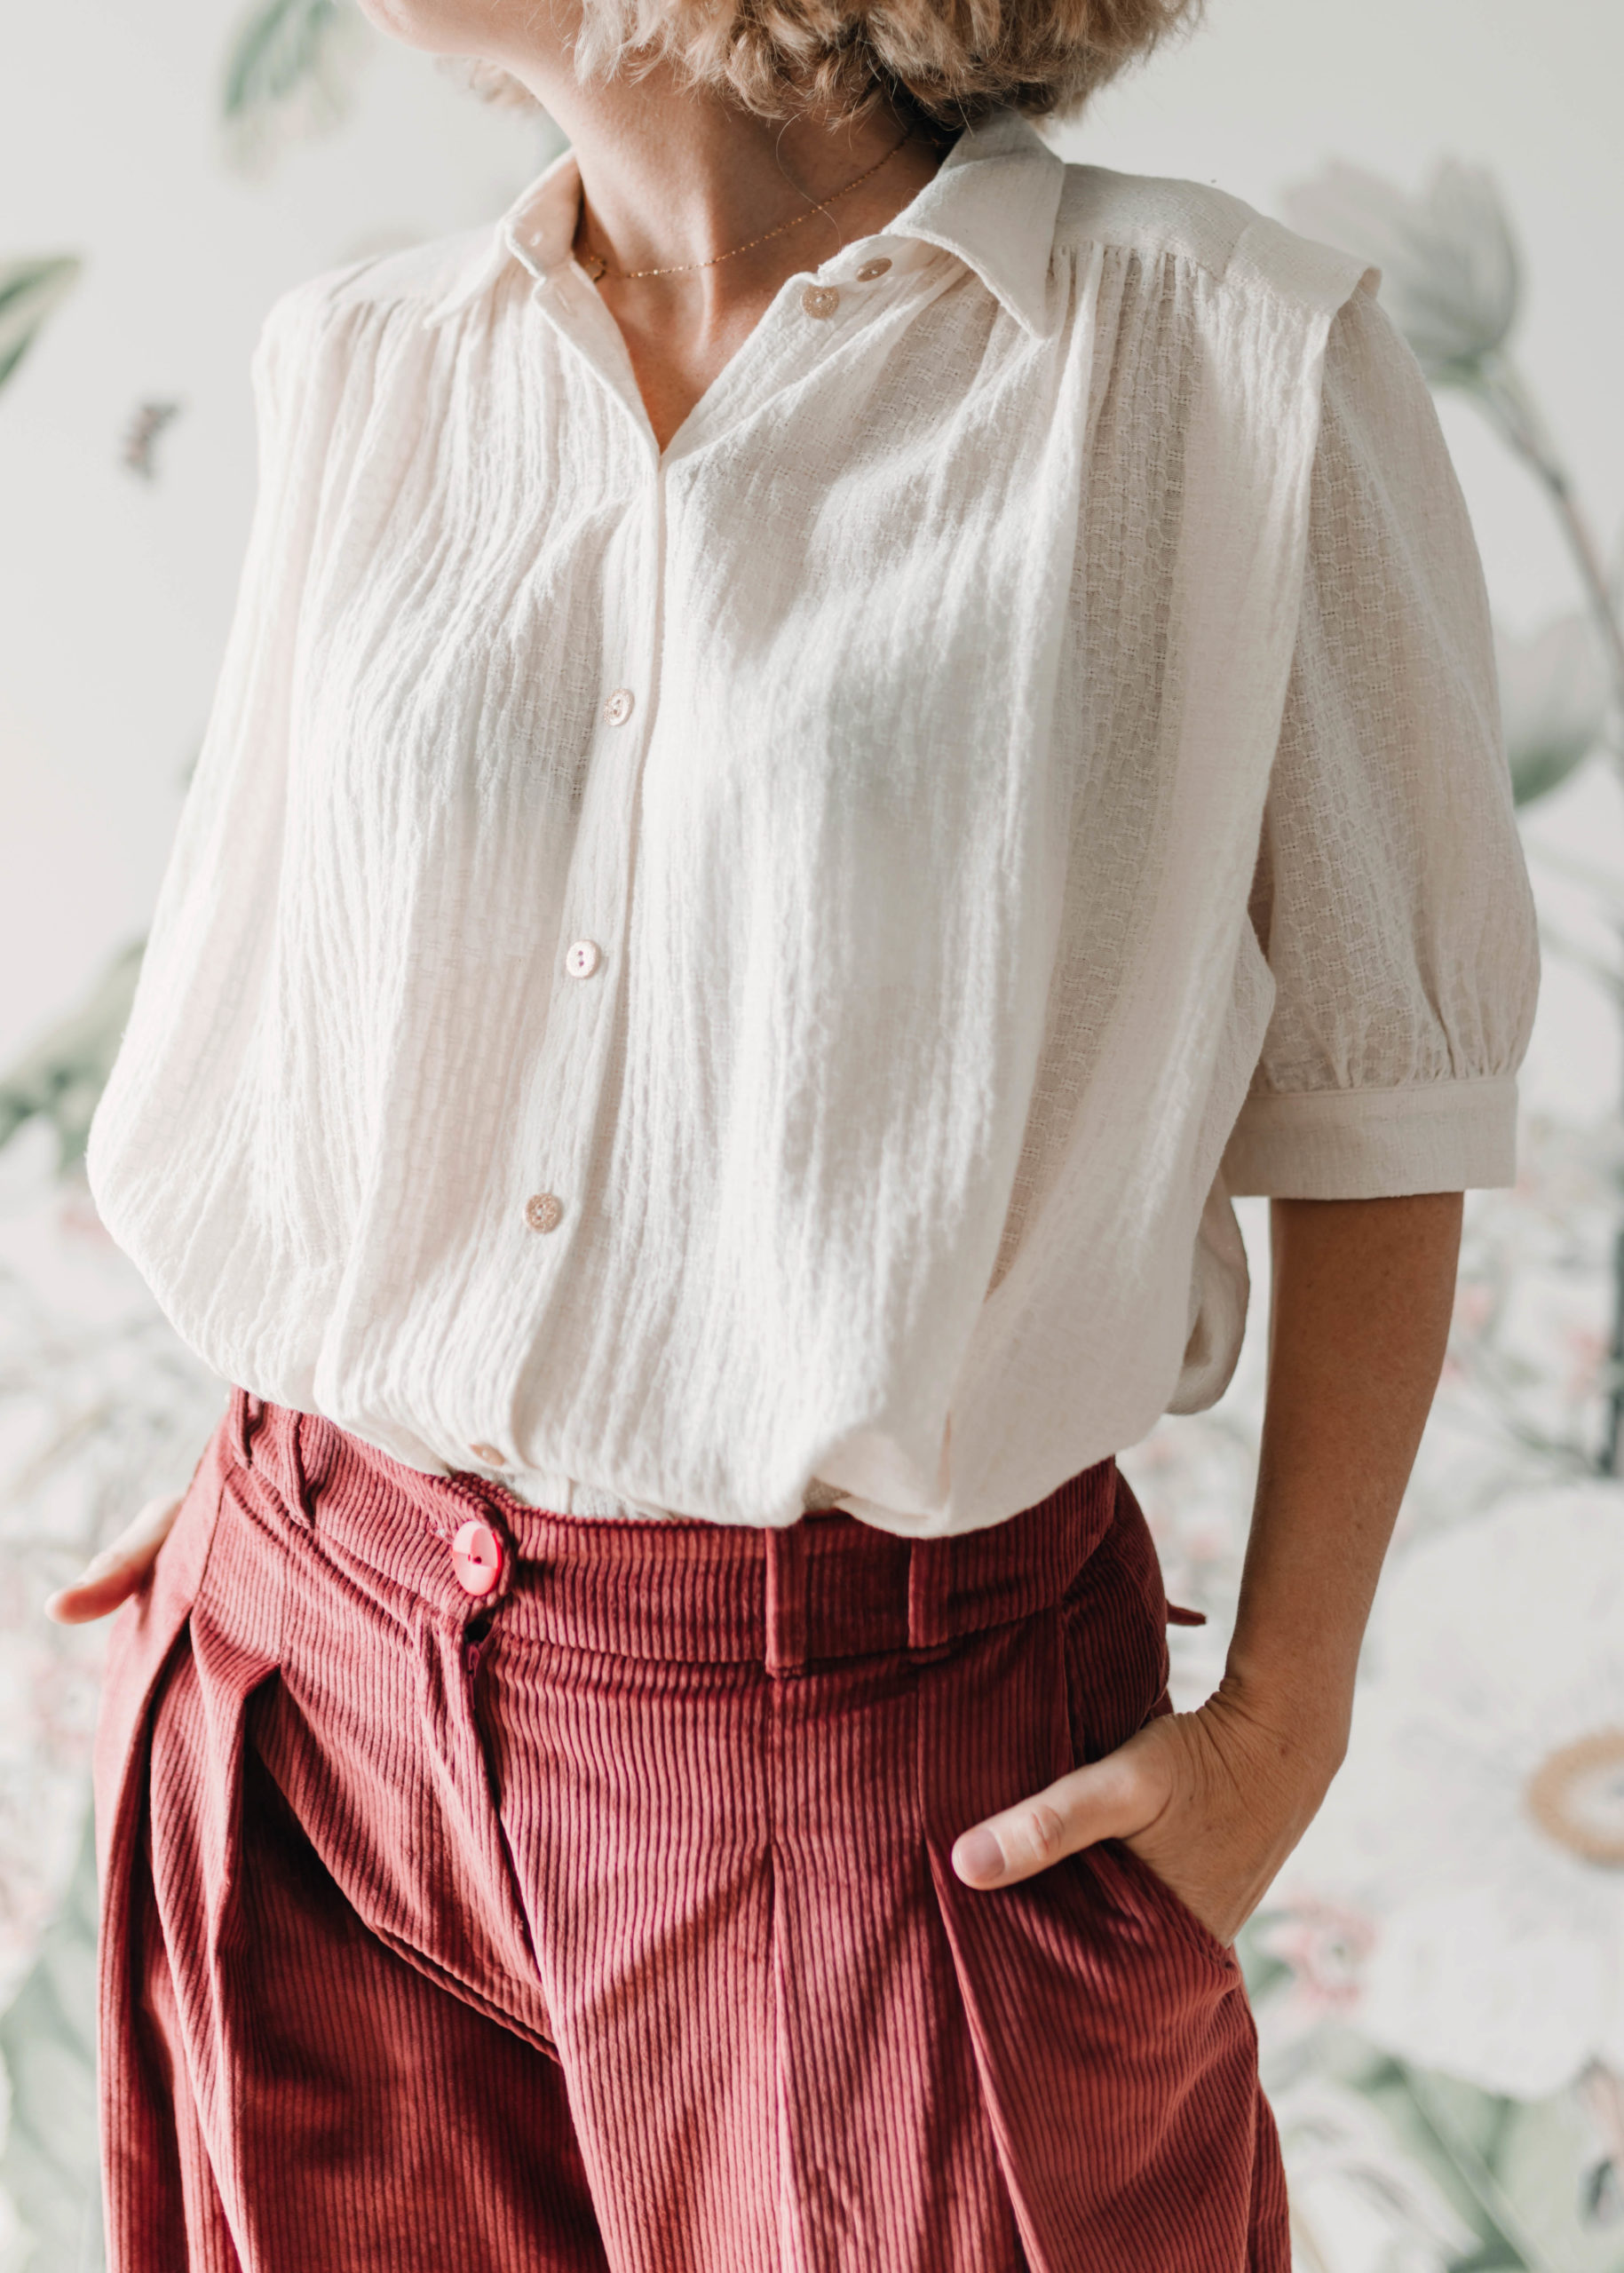
I started working on CLEO, my new blouse for women, way back in March 2021.
Here’s how CLEO was designed, which is actually the same process for all my patterns!
At first, I drew the core pattern I had in mind before grading a size 38, including various options. Once I was happy with my design, I sent all the size 38 paper pattern pieces to the pattern grader that graded from size 34 to size 52. Then, she sent the gradation digitally and I started shaping the pattern layout.
I wrote the instructions only when the pattern sheet had been done, using the notes taken/ the schema I made during the designing process. While writing the instructions booklet, I try and keep in mind that a beginner should understand it easily and that sewing this pattern should be straightforward.
The next step was sending the pattern to my amazing team of testers (almost of the size range is represented): this allows me to be sure that there’s no mistake in the pattern design and that the instructions are faultless. Once pattern and booklet have been checked, the set goes to my trusty translator (we’ve been working together for years!).
Then, I sewed each and every version you can see here or on social media (Facebook and Instagram). I use fabrics that I either bought over years or were presented to me by fabric designers. Quality and drape must conform to the project and my taste.
And last but not least, I worked with a professional photographer who helped me highlight all of these long months of work by her photos. She also shot a video, which is the best channel to show you all the possibilities offered by this new pattern (see the video on social media).
In short, 9 months later, we welcomed CLEO!
In order to keep only one pattern sheet for the core pattern, I had to split CLEO in two parts: on one side, the core pattern of the CLEO blouse and on the other side, the CLEOSHIRT AddOn. The core of both parts is the yoke: triangular on the front and straight at the back. Gathers under both yokes bring comfort to the fit
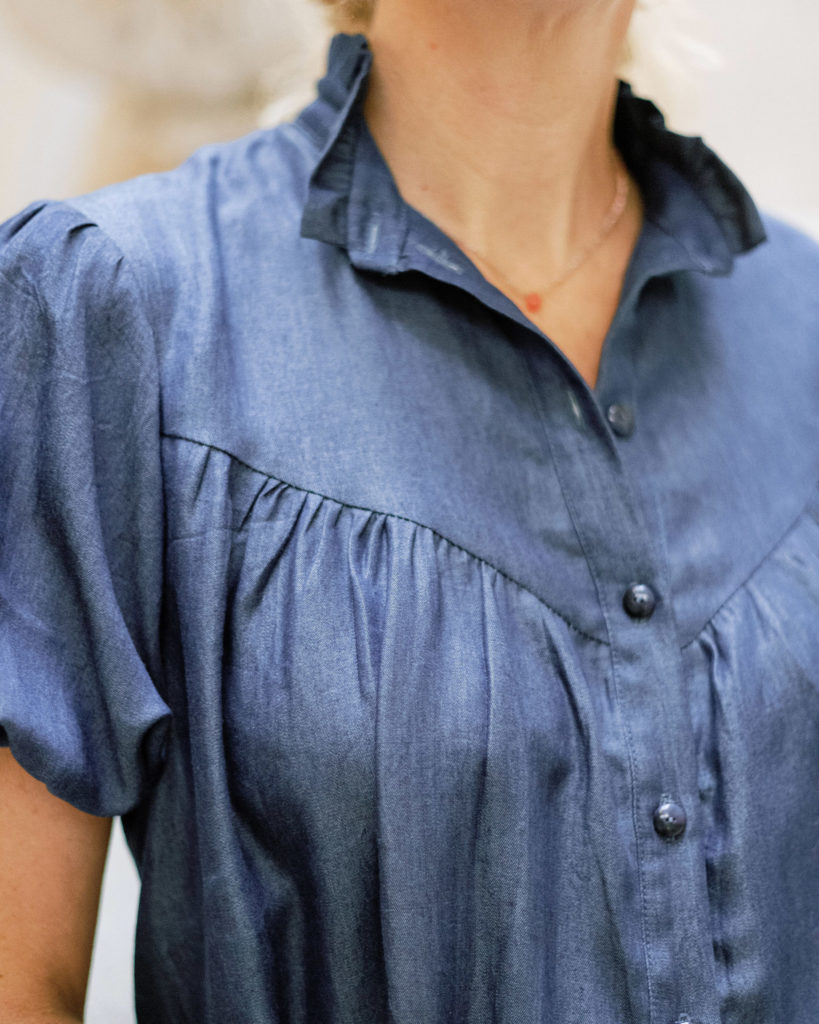

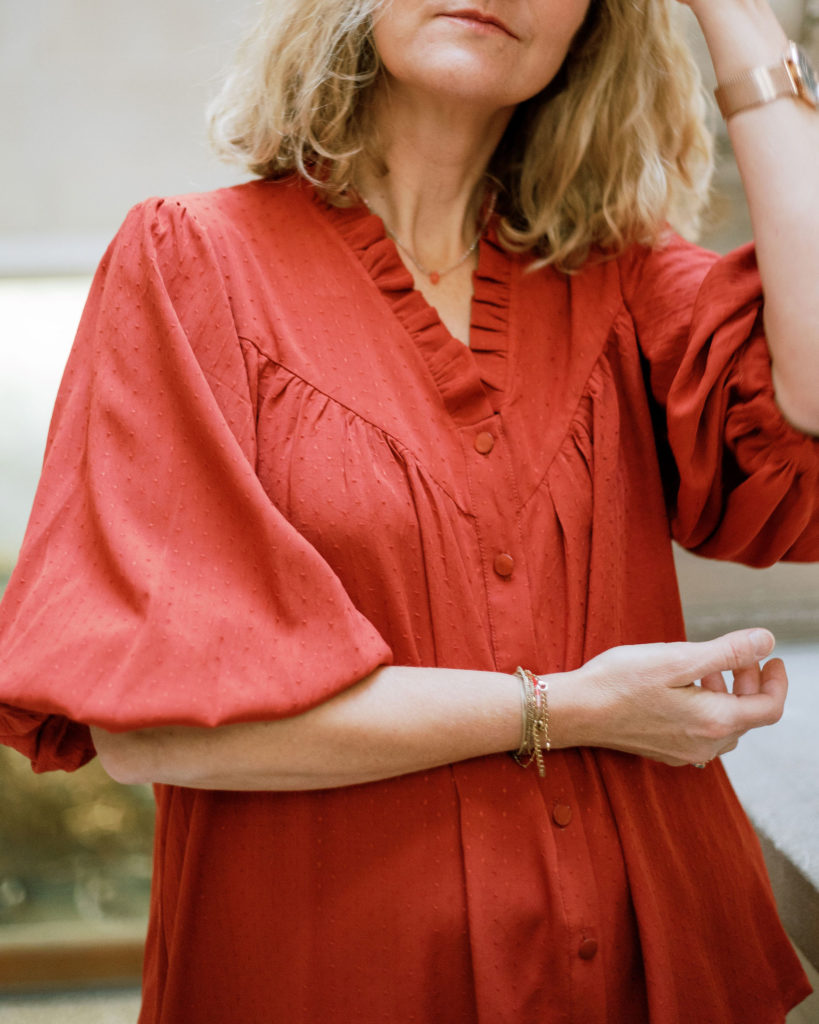
CLEO has a V neckline that underlines the bust delicately. I offer various finishings to the neckline:
– the core neckline i.e. with no finishing per se,

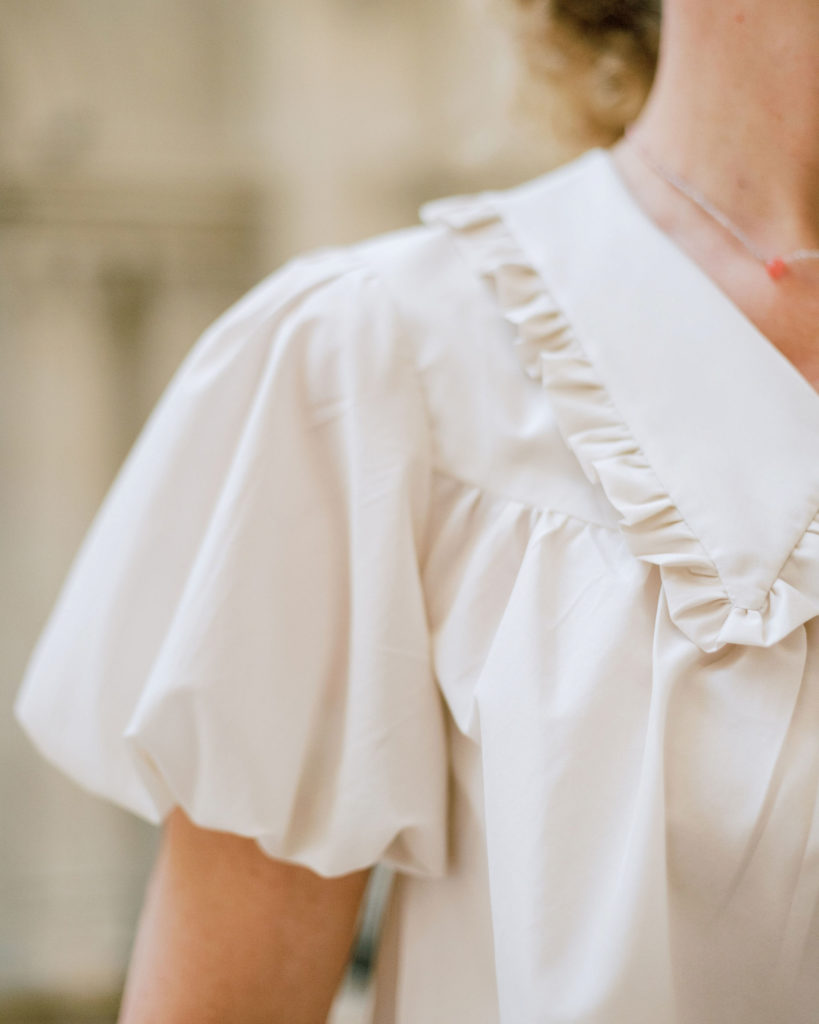
– a neckline with an oversized figurate collar pointing to the bust

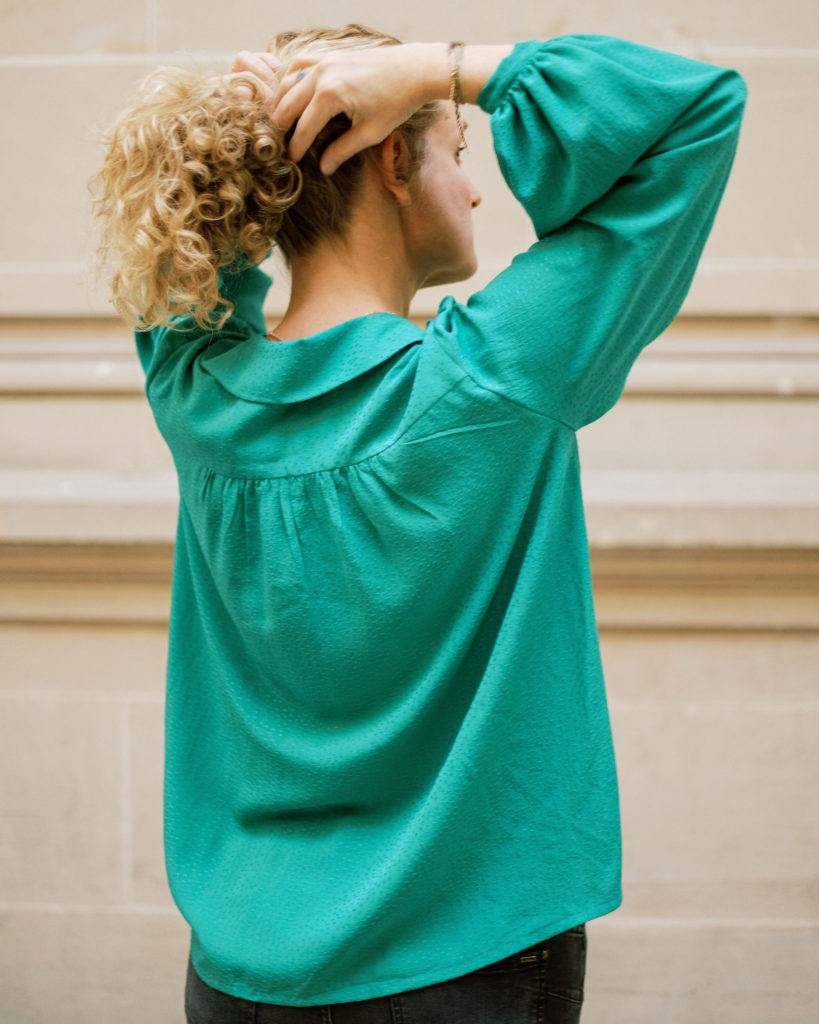
– a neckline with an oversized figurate collar with frills,
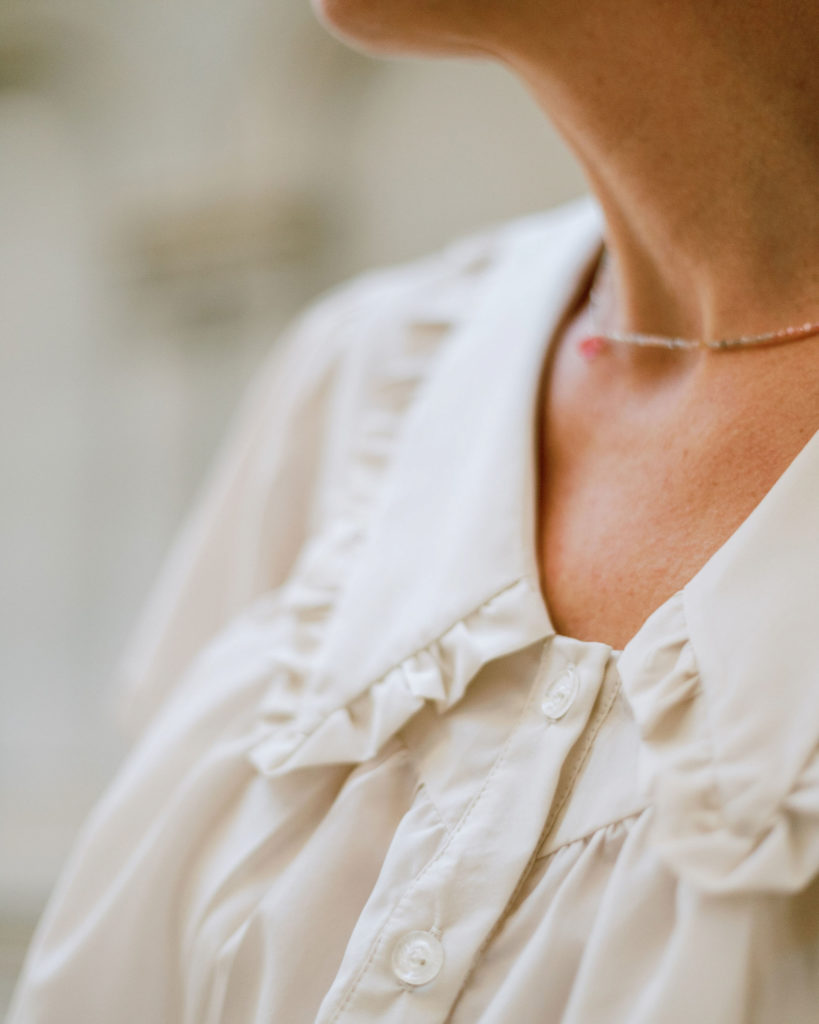

– a neckline with one large ruffle caught in the button placket,


– a neckline with frills.
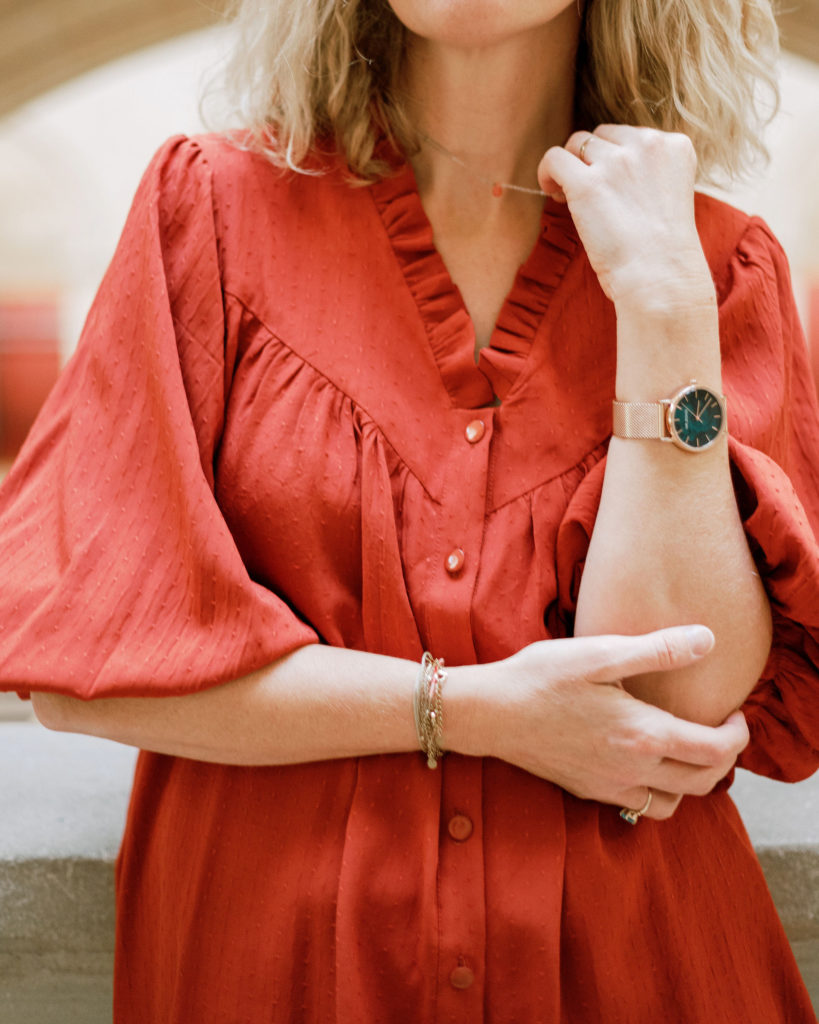
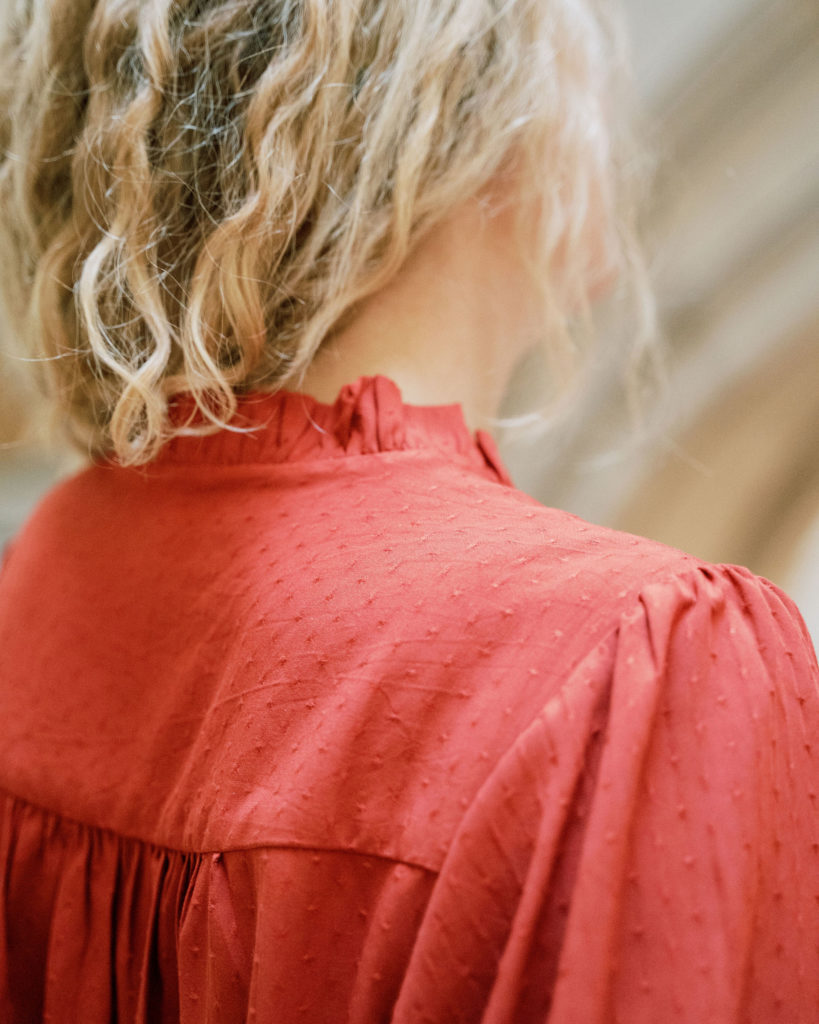
CLEO offers two sleeve types.
– Long sleeves gathered at the shoulders and tightened at the wrist by a small button. That means there’s a slit at the bottom of the sleeve for easier opening,
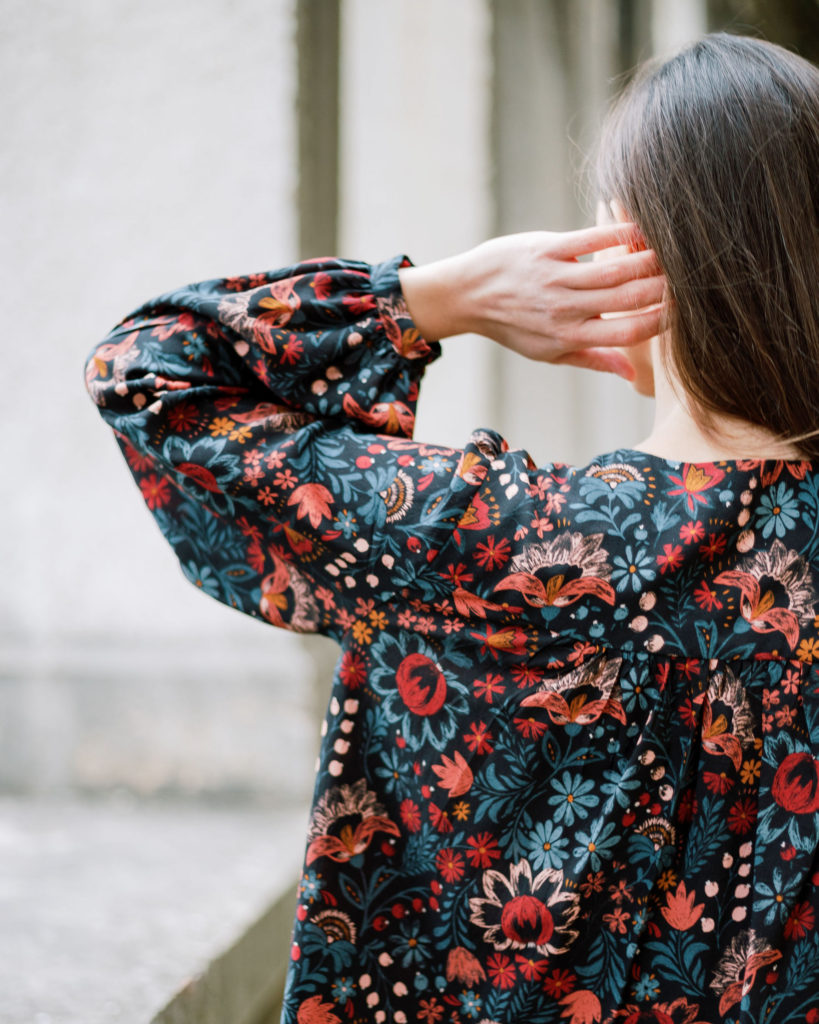

– Short puff sleeves, with heavy gathers at the shoulders and tightened at the biceps by a length of elastic.

The CLEOSHIRT AddOn is the shirt version of the CLEO blouse i.e. the neckline is higher and has a collar stand. You can add the following to that collar stand:
– a classical collar,

– or frills.

Since the CLEOSHIRT AddOn is only available as a PDF, I was able to add two extra types of sleeve. Since they are extremely wide sleeve, they take a lot of place and I wouldn’t have been able to include them in the core pattern. But these sleeves meant a lot to me and that explains why they are included in the AddOn.
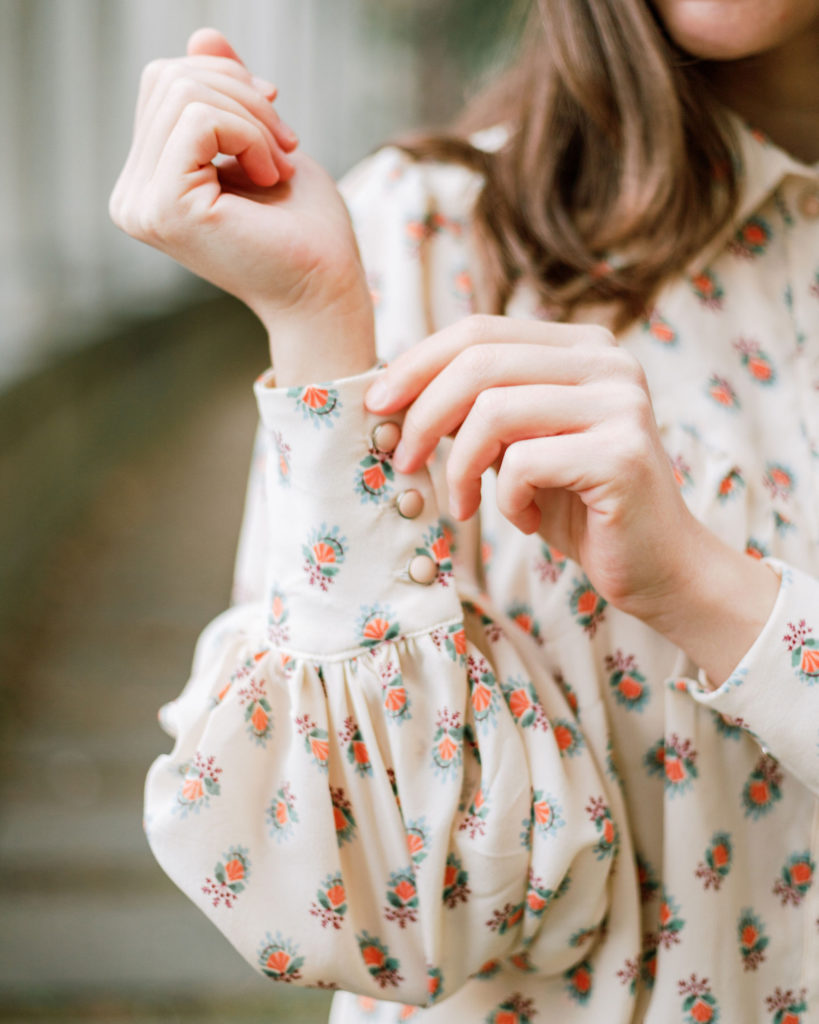
So, CLEOSHIRT includes :– bishop sleeves with high cuffs closed by 3 buttons each (+ a slit at the bottom),

– Puff half-sleeves tightened by a length of elastic.

I had to choose between the options unfortunately… As a matter of fact, when I create a new pattern, one of my main preoccupations is to be sure that all of the pattern pieces (graded between 34 and 52) can be printed on one single sheet and that the number of pages in the booklet stays below 24 (otherwise, the paper pattern would be too expensive). I could have added them to the AddOn, but I was afraid you would get swamped by all of these options.
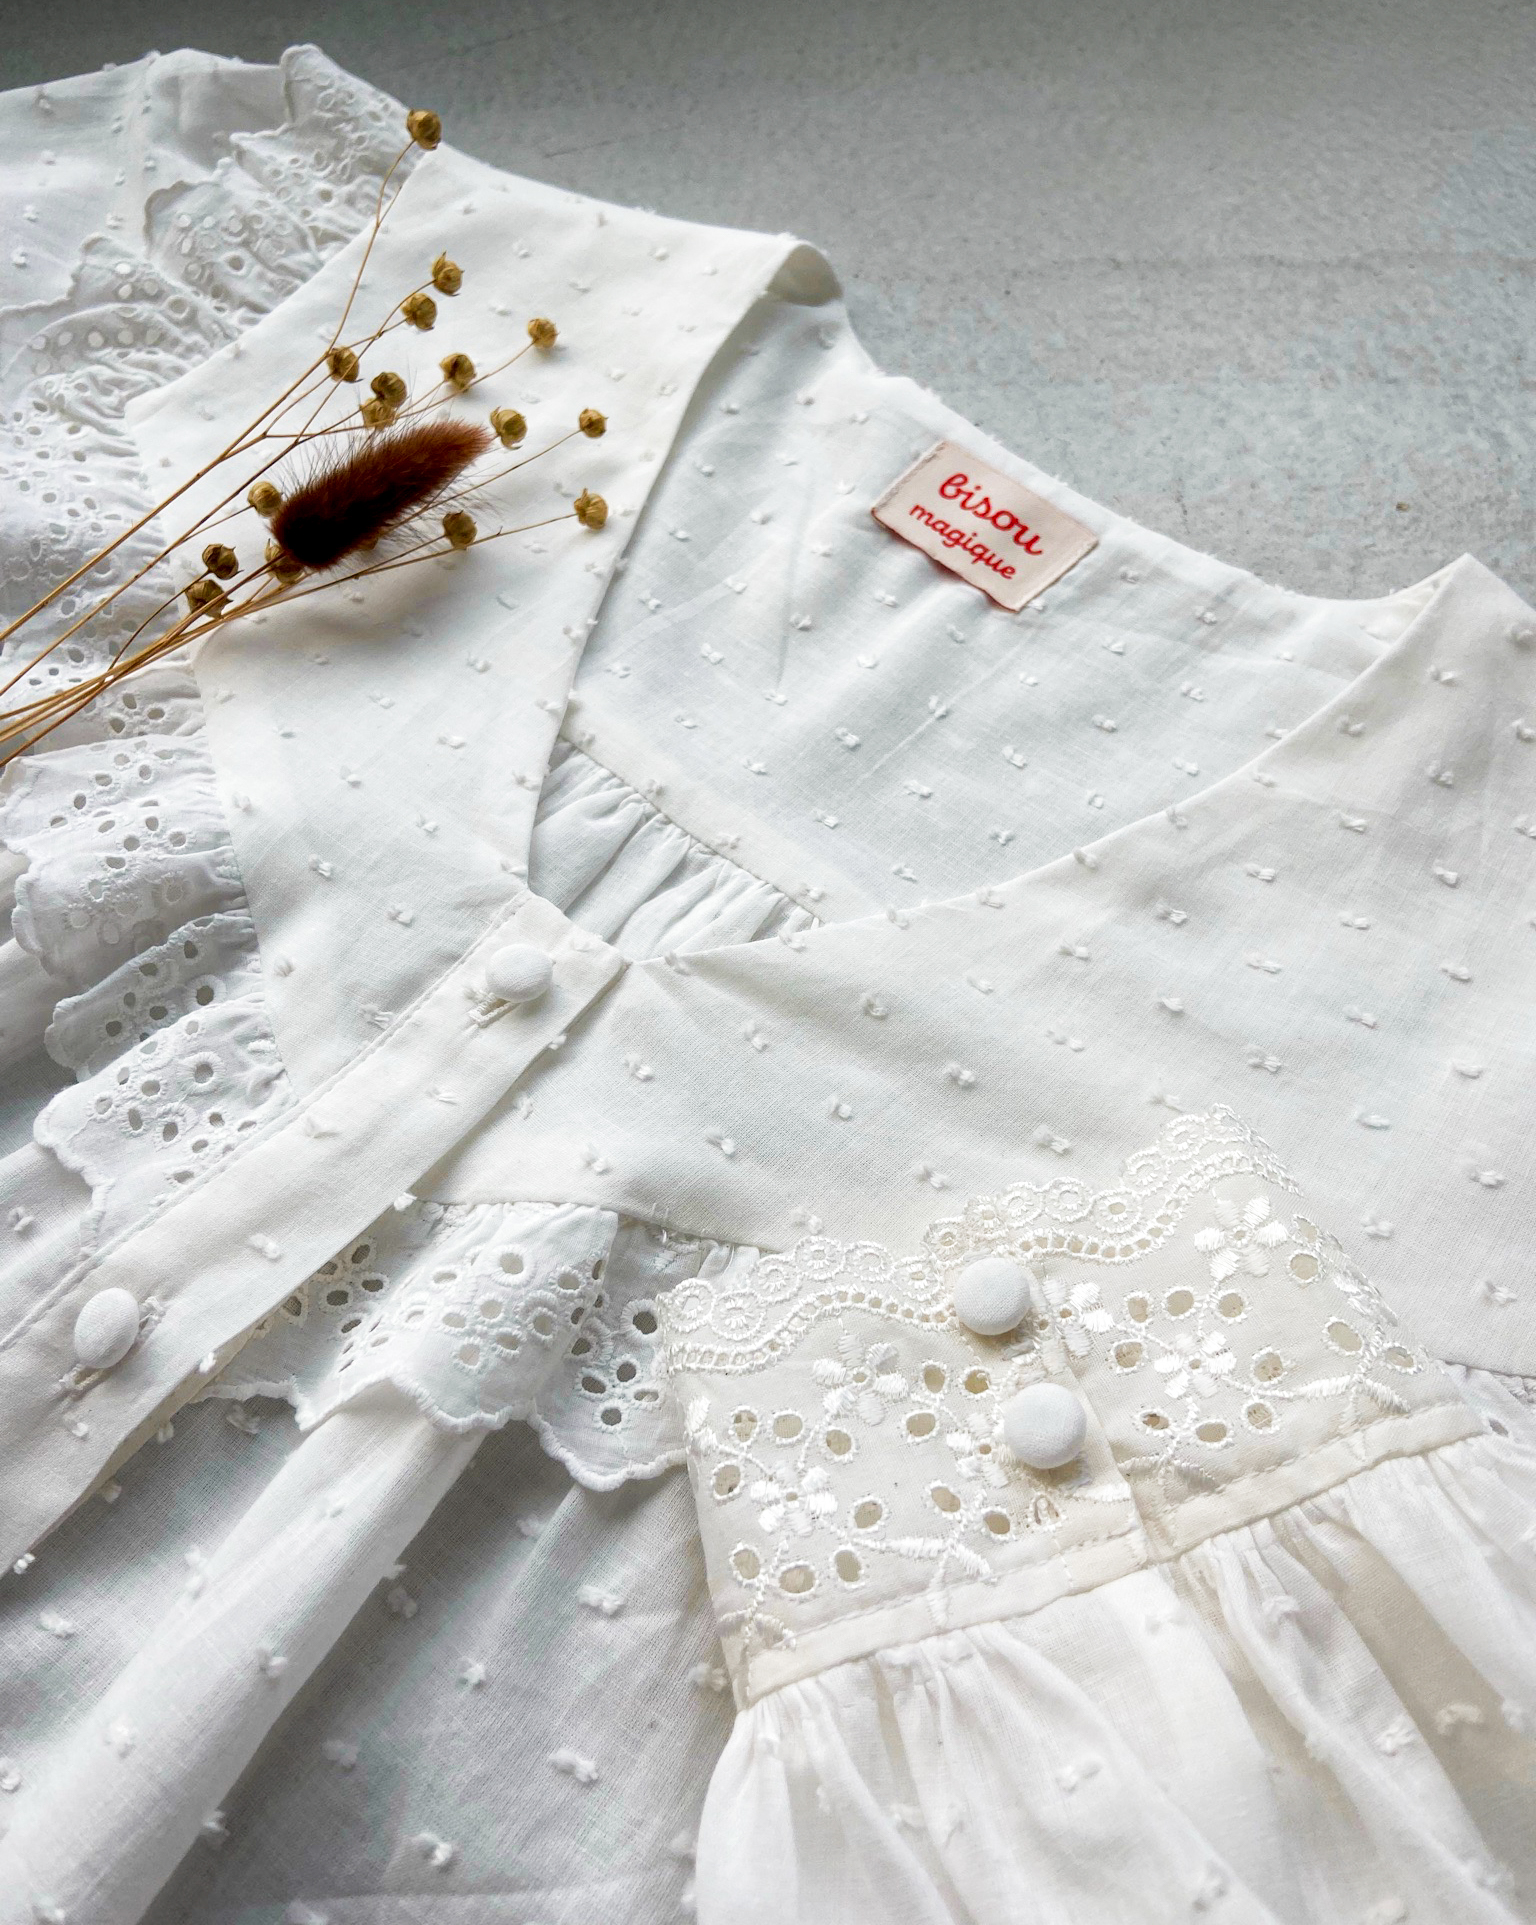
However, here are two ideas I had to let down, but that you could enjoy:
* Frills at the sleeve cap…You may use AIMEE or ETHEL gathered sleeves. Sew these gathered sleeves to the armholes BEFORE sewing the CLEO/ CLEOSHIRT sleeves.
* Frills under the front triangular yoke and/or the straight back yoke. Proceed as follows :
– Cut a strip of fabric 7 cm x (1.6x length of the bottom of yoke #1 or #2) cm (mine is 7 cm by 5 cm, finished measurements, but you may prefer wider or narrower frills, it’s totally up to you),
– Roll 0.5 cm twice on the inside on one long edge and hem,
– Stitch two gathering lines on the other long side (facing the hemmed edge),
– With right sides together, stitch the gathered edge to the bottom of the yoke #1 (or #2) at 8 mm from the edge, (sew BEFORE CLEO’s step 2),
– Then resume sewing at step 2, You will only have frills sandwiched between yokes #1 and fronts #3 (and/or yoke #2 and back #4).

You can make CLEO yours the way you want. Let your imagination be your guide… 🙂
See you soon